
这是一篇来自于旧站的重置文章。
前言
之前一直想买橡皮鸭(USB RUBBER DUCKY)来着,奈何Hak5的东西实在是太贵了,加上运费寄过来欧洲更贵了,得,刚刚本来想上官网看一下价格,记得是49.99还是59.99刀来着,结果现在显示已经卖完了。这么贵还有人买,真是世界上有钱人一大把orz。后来看NetworkChuck的频道发现能用树莓派Pico实现橡皮鸭一样的功能,笑,那能省钱的东西,能不整一个吗,于是乎这周二立马在Amazon下了一单Pico想来试试看。
正文
1. 概论
基本的操作已经在Github: dbisu/pico-ducky的Github里面写的差不多了,唯一要做的只是按照他的步骤复现一遍即可。
Install and have your USB Rubber Ducky working in less than 5 minutes.
Download CircuitPython for the Raspberry Pi Pico. *Updated to 7.0.0
Plug the device into a USB port while holding the boot button. It will show up as a removable media device named
RPI-RP2.Copy the downloaded
.uf2file to the root of the Pico (RPI-RP2). The device will reboot and after a second or so, it will reconnect asCIRCUITPY.Download
adafruit-circuitpython-bundle-7.x-mpy-YYYYMMDD.ziphere and extract it outside the device.Navigate to lib in the recently extracted folder and copy
adafruit_hidto thelibfolder in your Raspberry Pi Pico.Click here, press CTRL + S and save the file as
code.pyin the root of the Raspberry Pi Pico, overwriting the previous file.Find a script here or create your own one using Ducky Script and save it as
payload.ddin the Pico.Be careful, if your device isn't in setup mode, the device will reboot and after half a second, the script will run.
大概的步骤就是如此,然后我们来复现吧!但是在此之前~ 让我们看看我可爱的Pico~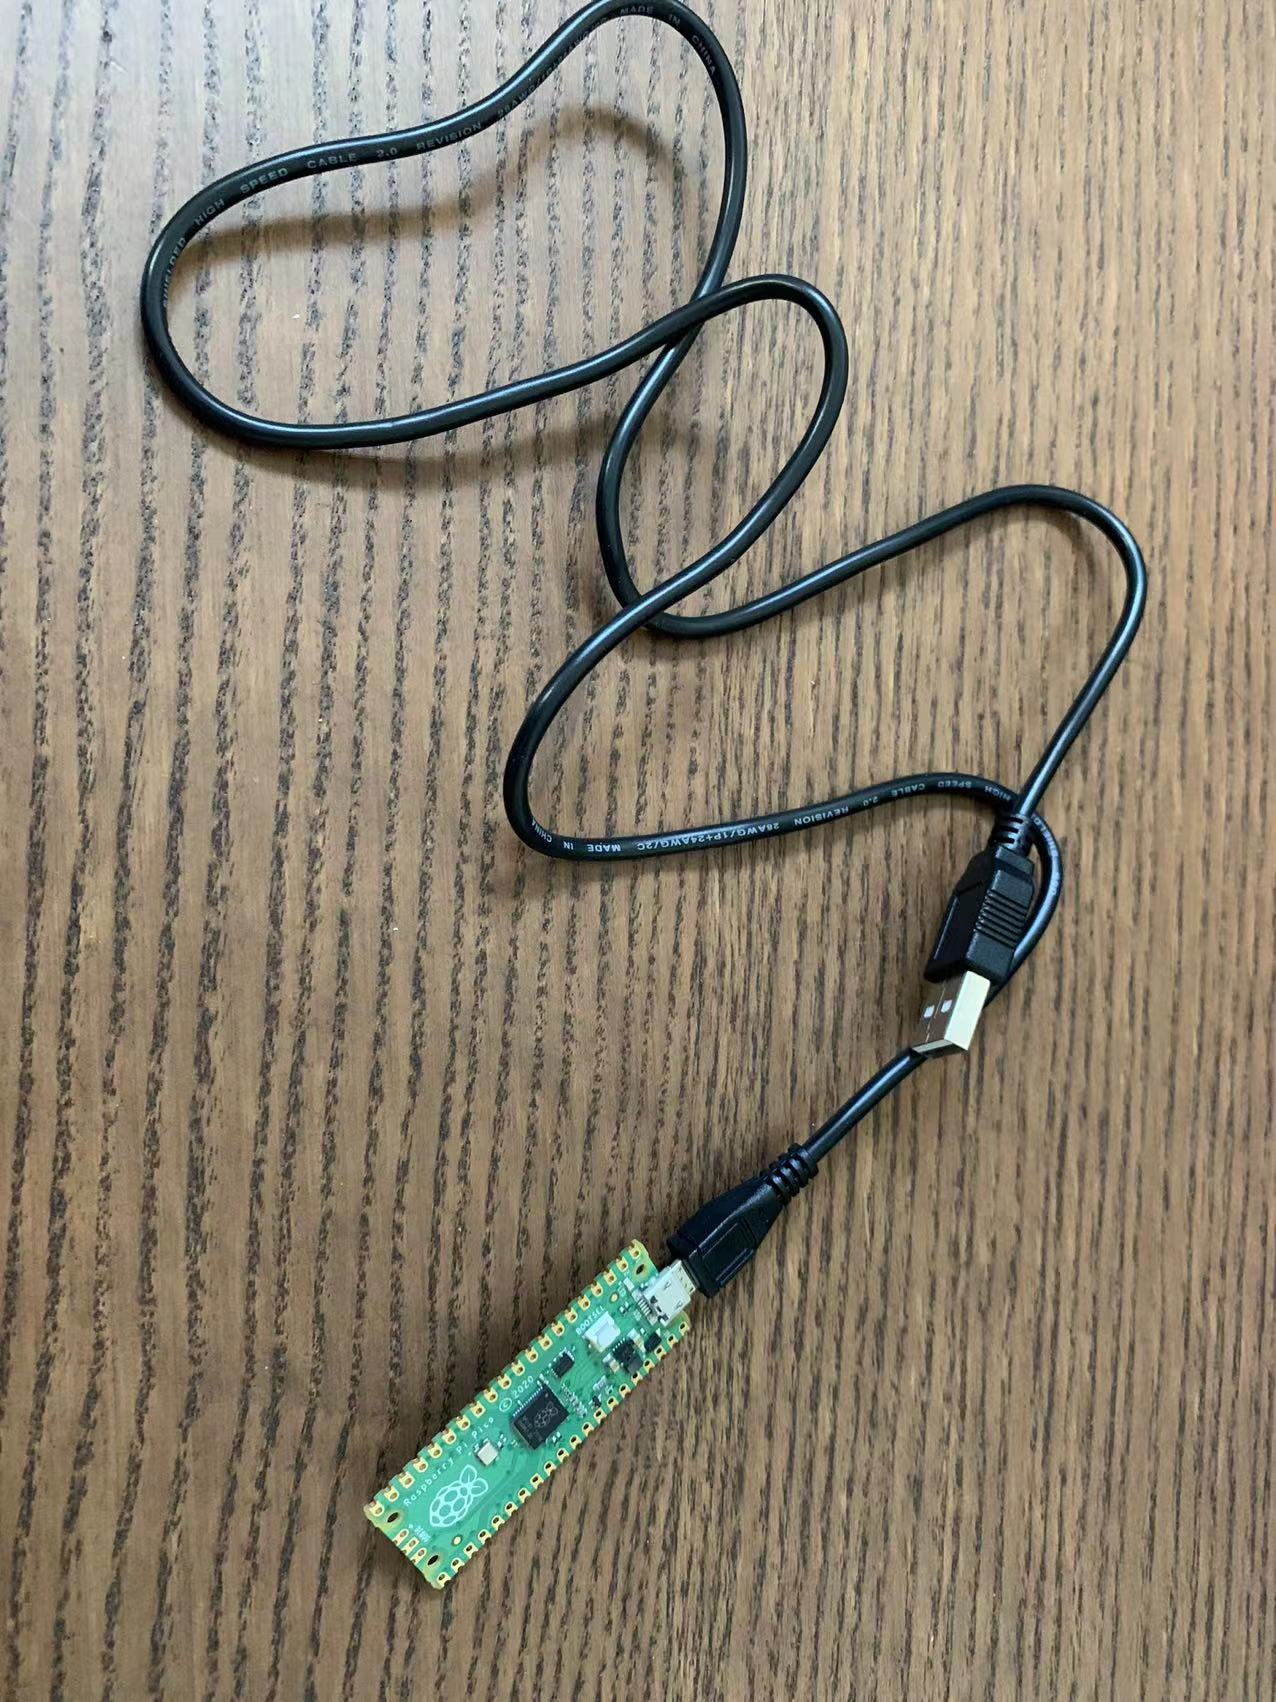
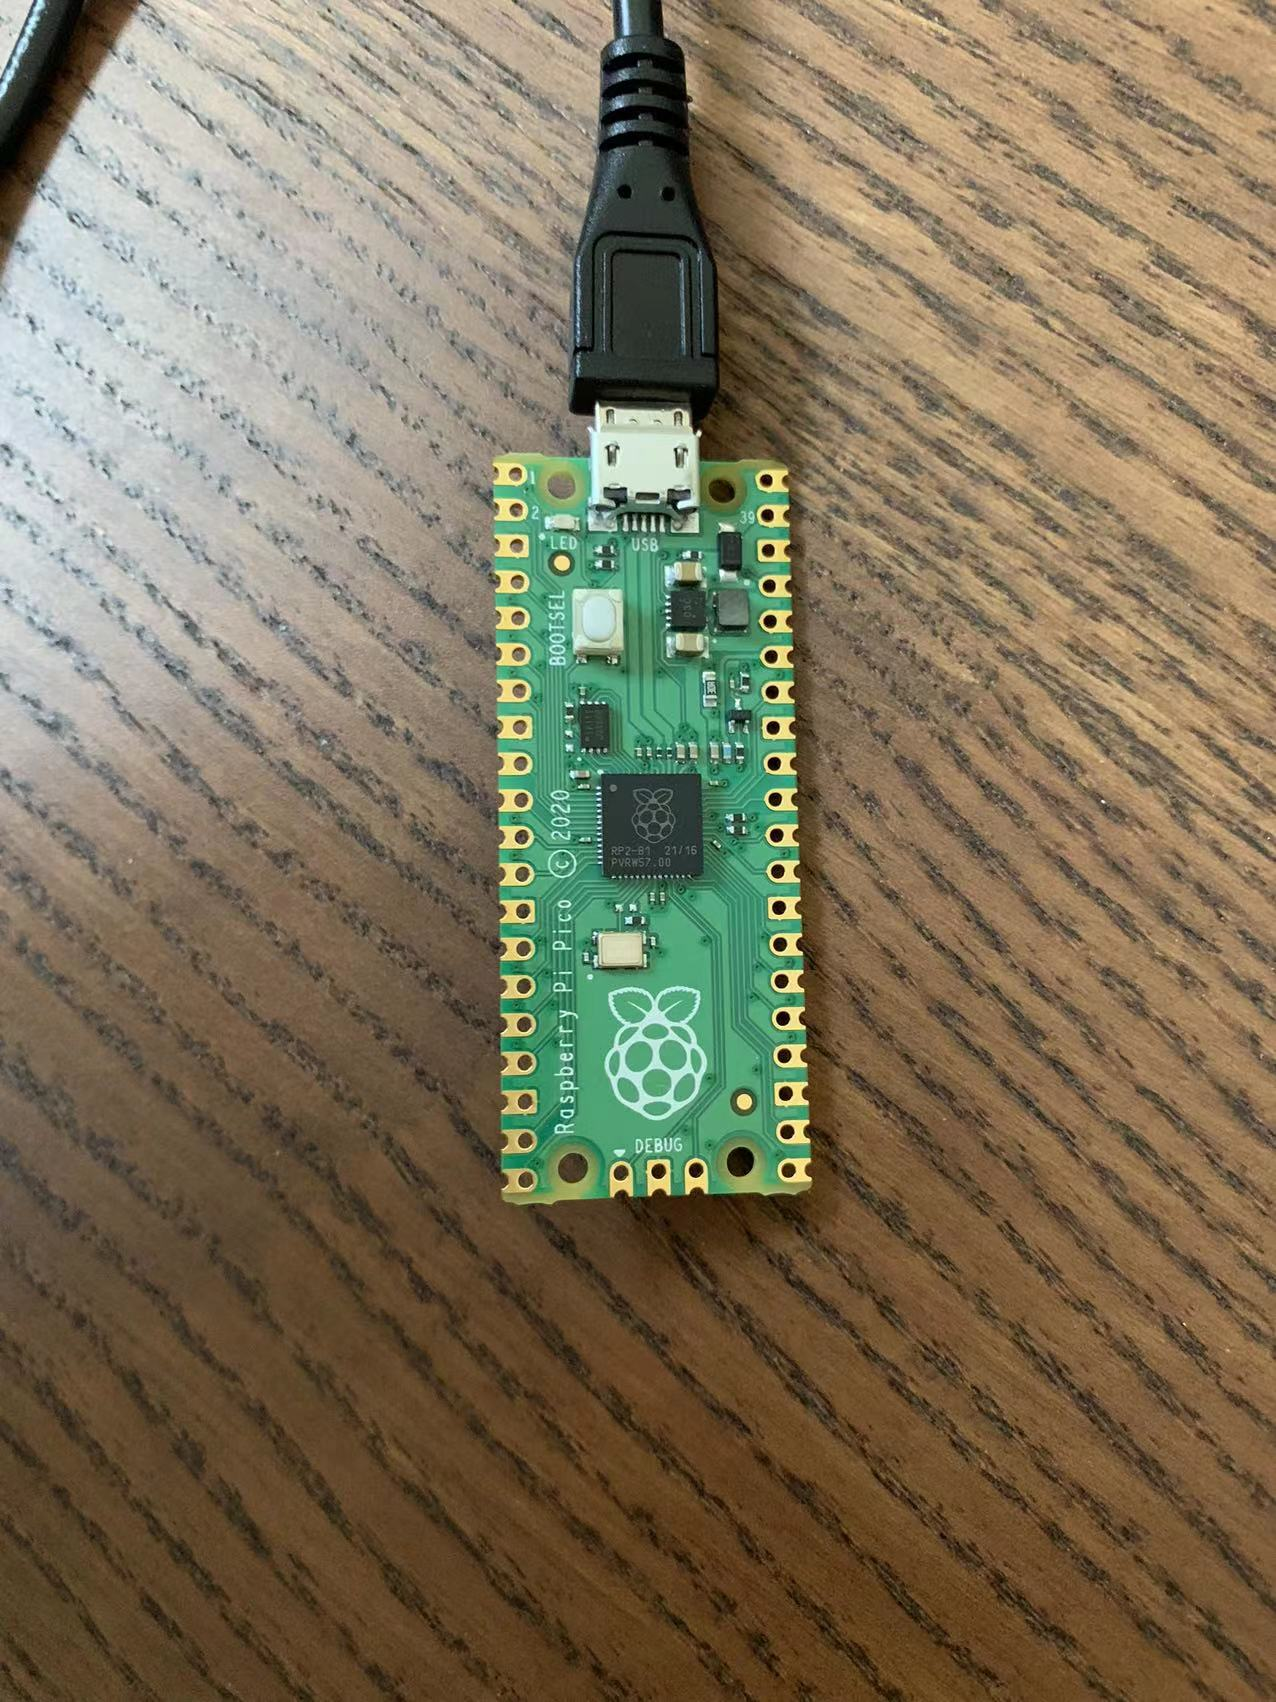
2. 将Pico变成Pico-Ducky
首先根据Github: dbisu/pico-ducky的操作,我们从CircuitPython需要下载一个
.uf2文件,然后将下载好的文件拖入pico里面。这个时候我们的Pico会自动弹出,然后再次被计算机读取,这个时候我们会发现pico已经从RPI-RP2变成了CIRCUITPY了。然后我们需要从Github: dbisu/pico-ducky的Github里面下载
duckyinpython.py文件,然后将这个文件放入到Pico里面,也就是CIRCUITPY里面,并且将原有的code.py文件删除,将新加入的duckyinpython.py更名为code.py文件。就在这个步骤完成的一瞬间,你的Pico就已经成功变成了橡皮鸭(USB RUBBER DUCKY)了,这个时候我们只需要去找Payload即可。作为Payload我们需要
Payload.dd文件,而Payload.dd文件可以从hak5darren/USB-Rubber-Ducky下载,或者我们可以自己制作,具体如何制作请参考Duckyscript官方文档。假设我们用Hak5预设的
Payload.dd文件,我们这里以一个最没有危害的Payload.dd文件来作为演示吧,Payload youtube roll,这个Payload的作用是打开YouTube并且播放著名的Rick Astley - Never Gonna Give You Up (Official Music Video),具体的Payload.dd代码如下,我们只需要将以下的代码全部复制,并且打开notepad(Windows)或者vim(Linux/MacOS),保存为Payload.dd然后放入Pico内即可(注意:当Payload.dd被放入Pico的一瞬间,如果你不是在安全模式的话,他会立即开始执行。)
DELAY 3000
GUI r
DELAY 200
STRING https://www.youtube.com/watch?v=dQw4w9WgXcQ
ENTER
DELAY 3000
STRING fDELAY 3000
GUI r
DELAY 200
STRING http://navi.seanzou.com
ENTER
DELAY 3000
STRING f然后插入将Pico插入任何一台电脑开始测试吧!
然后就搞定了,O(∩_∩)O 完美撒花,可以去测试一些奇奇怪怪的代码了。
参考
[1] bad USBs are SCARY!! (build one with a Raspberry Pi Pico for $8)
[2] Github: dbisu/pico-ducky
[3] Github: hak5darren/USB-Rubber-Ducky